Mastering Lighting in Wedding Photography: A Comprehensive Guide
If photography were a symphony, then lighting would be the conductor. When you are tackling something like wedding photography, using lighting the right way becomes paramount. This guide will take you on a comprehensive journey into the heart of lighting in wedding photography. You’ll learn to dance with natural and artificial light, leverage advanced lighting gear, and discover the joy of creative lighting techniques.
Natural Light vs. Artificial Light
Grasping the interplay between natural and artificial light is like learning the steps to a beautiful dance. Each type of light has its rhythm, its grace, and its challenges. A truly captivating photo can only be shot when the photographer knows how to seamlessly blend these two types of light.
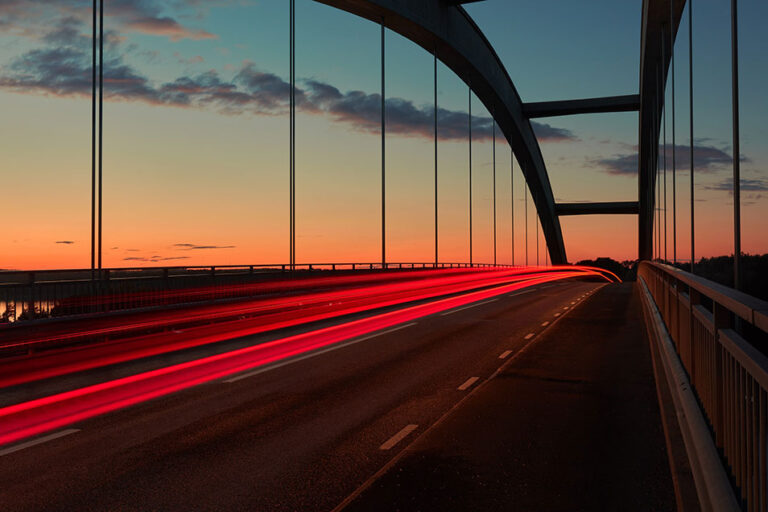
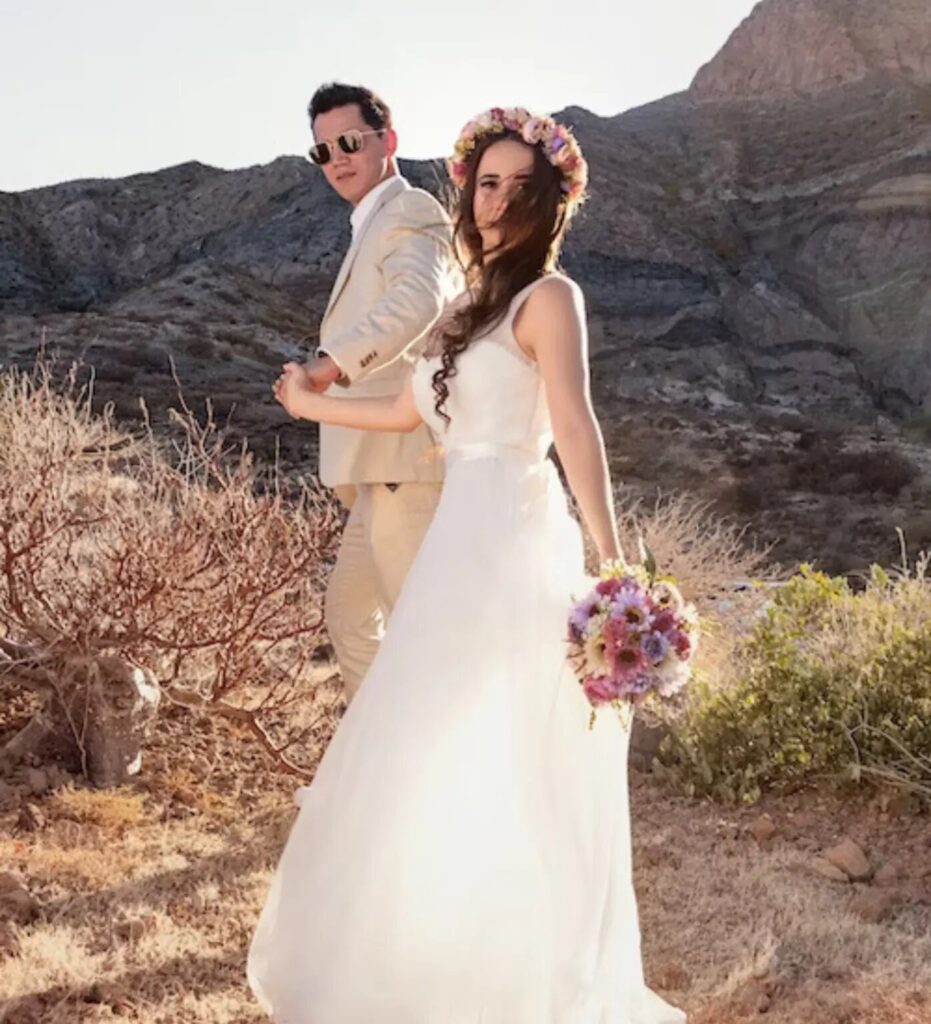
Natural Light: The Symphony of the Sun
Natural light, particularly sunlight, is like a whimsical dance partner. It can lead you to a waltz of warm, mesmerizing images or leave you stumbling with unpredictable changes. The way sunlight changes throughout the day can add varying moods and looks to your photos.However, dealing with natural light can be difficult due to its unpredictable behavior.You need to be ready to adjust your approach based on changing weather conditions or the shifting position of the sun.
Yet, when harnessed effectively, natural light can help create photographs that are warm, vibrant, and filled with depth. To understand how to use natural light to your advantage, refer to our guide on Outdoor Wedding Photography Tips.
But remember, not every wedding scenario allows the luxury of perfect natural light. This is where your dance with artificial light begins.
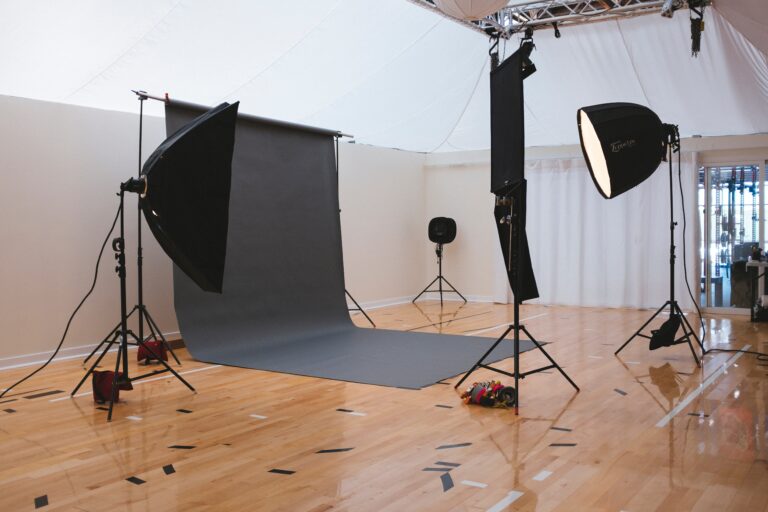
Artificial Light: The Choreographed Performance
Artificial light is like a well-rehearsed ballet performance—it offers you control and predictability. Whether you’re shooting in low-light environments or looking to create a specific ambiance, artificial light can be your savior.
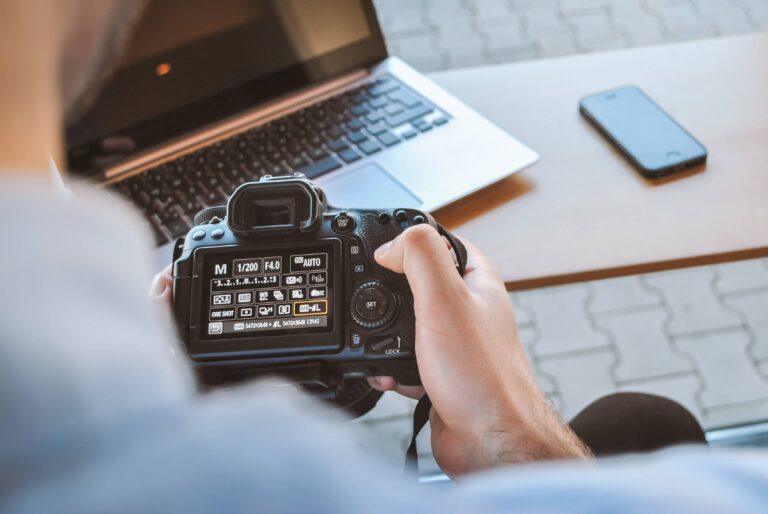
Sources of artificial light, such as camera flashes or studio lights, can seem daunting at first. But once you understand how they interact with your camera settings and the overall scene, they become powerful tools in your kit. A camera flash, for example, can dramatically improve your photos in low light conditions or when you need to counterbalance strong ambient light.It is worth noting that you are not going to be able to do much by having artificial light, you have to learn how to use it. Learn to dance with your flash and create balanced, well-lit photos by checking our Flash Settings for Wedding Photography guide.
Advanced Lighting Equipment
Understadning natural and artificial light is important, but you have to take things further by learning how to use advanced lighting equipment–the equipment that will help make your photography even better.
Off-Camera Flash: The Freedom to Move
Just as a dancer has the freedom to move around the stage, an off-camera flash gives you the flexibility to position your light source from various angles. Off-camera flash is an excellent tool since it allows you to move freely without the light being tethered to your camera. You can get as creative as you want all thanks to this flash in your arsenal.
The strategic positioning of off-camera flash allows you to control the direction and intensity of light. If you are looking to add depth and a story to your pictures, using off-camera flash in various ways is a great way to get started.
Reflectors and Diffusers: The Subtle Art of Control
Just as a skilled dancer knows when to take a step back, a great photographer understands the value of subtlety. Tools like reflectors and diffusers can help you subtly manipulate natural or artificial light.
Reflectors help redirect light onto your subject, reducing shadows and creating balanced shots. Diffusers, on the other hand, soften your light source and lessen its intensity. They can be invaluable when dealing with a bright light source that might create harsh shadows on your subject.
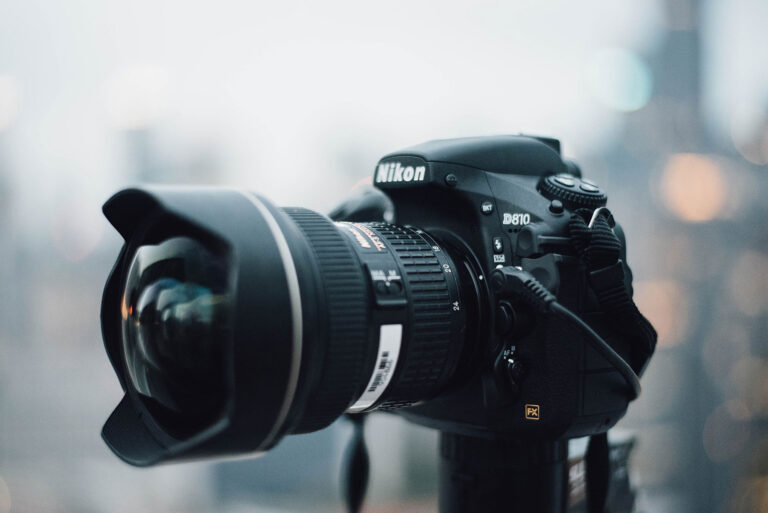
Light Meters: Precision Matters
Even the most beautiful dance can falter without precise timing. Similarly, in photography, precision can elevate a good photo to an outstanding one. Light meter helps in measuring the amount of light in the scene, and therefore, aids in setting the perfect exposure for the scene you are dealing with.

Creative Lighting Techniques
Beyond understanding light sources and equipment, the dance of wedding photography also involves using creative lighting techniques. These techniques can add a distinctive flair to your images.
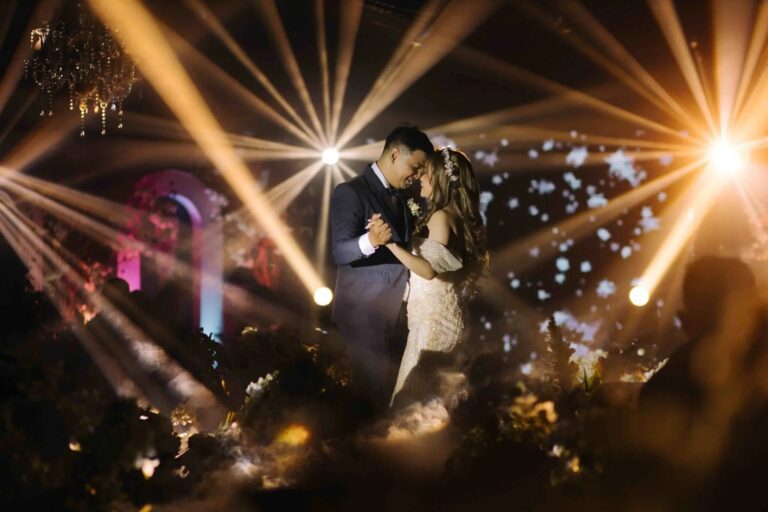
Backlighting: Illuminate with Drama
Imagine a dancer under a spotlight, every move highlighted against the dark backdrop. That’s what backlighting does to your subjects. By placing the light source behind the subject, you can create a range of effects. Properly positioned backlighting allows you to create brilliant halo effects as well as silhouettes, taking your pictures to the next level.
Side Lighting: Adding Dimension and Texture
Side lighting is like a spotlight from the side of the stage—it brings out the texture and depth of the dancer’s movements. By illuminating the subject from the side, this technique can emphasize textures and details, adding a dramatic touch to your photographs.
High-Key Lighting: Light and Airy Images
High-key lighting is a technique that floods the scene with light, reducing shadows and creating bright, airy images. It’s a style often associated with cheerfulness and exuberance—perfect for a wedding. To understand how to achieve this effect, check our guide on Best Camera Settings for Wedding Photography.
Conclusion
Mastering lighting in wedding photography is like learning a beautiful, intricate dance. It’s a journey of constant learning and exploration. From understanding the rhythm of natural and artificial light to harnessing advanced lighting equipment, every step adds a new layer to your photography. And with each new technique, you tell a unique story of love, joy, and celebration.
Always remember, light is your canvas and your camera is the brush. You’re not just capturing images; you’re painting stories. As the spotlight shines on the bride and groom, let your creativity shine brighter. Keep shooting, keep exploring, and keep dancing with the light!
Frequently Asked Questions