The Best Outdoor Wedding Photography Tips That You Can Use
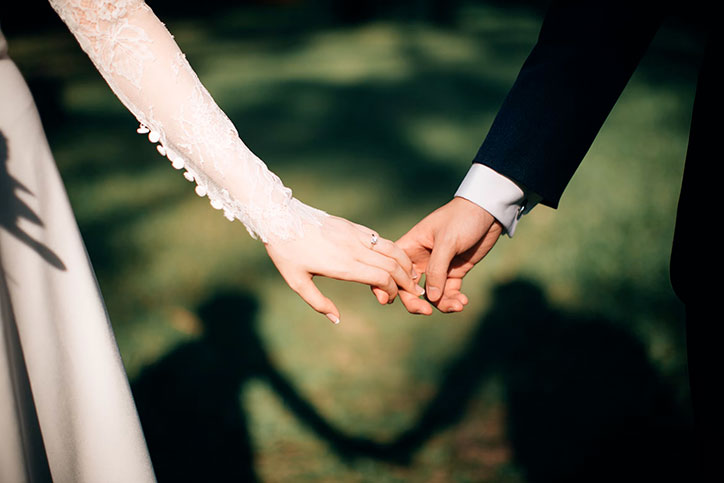
I recently got married and I have to tell you that outdoor weddings are so much better than indoors and while I am not going to start a debate about that. The one thing that I would mention is that if you are looking to hire a wedding photographer, it is better that you are going with someone who is fully aware of outdoor photography both during the day and the night because of course, you are in natural light which is going to go away once the sun sets down and the photographer needs to know what they are going to do and how to compensate for the lack of proper lighting.
With that out of the way, it is safe to say that there are not going to be any complications as far as outdoor wedding photography is concerned but if you find yourself confused I would perfectly understand. In this guide, I am going to share some outdoor wedding photography tips that you can use and that will help you get the most out of the situation as you will be able to make things work in your favor.
Best Outdoor Wedding Photography Tips
I understand that whenever you are going for outdoor wedding photography or any other photography, for that matter that is outside, there are a lot of things that add up to your entire experience. If not being done properly, you might not be able to get things on track and we are going to have to look into that because otherwise, you are just left outside not being sure how to take the pictures.
Considering how wedding photographers charge a handsome sum, it is better that they are delivering the best possible work as their clients would expect the same from them. That is why knowing these tips is important because they are only going to make things easier and more streamlined for you.
Sure, you can go ahead and add some of your own personal preferences too, but the tips that have been mentioned here are going to be useful for almost everyone and that is the reason why we are going to explore them. So, let’s not waste time and have a look, shall we?
Dealing with the Mid-Day Sun
I know this might not sound like a big deal but one of the biggest issues that come during the outdoor wedding shoots or outdoor shoots, in general, is that the photographers have little to no control over the light. Yes, you can actually go ahead and work on the timeline or you can add the artificial light but chances are that you are going to have to shoot the wedding in the middle of the day.
You would not want to take pictures of people who are squinting or you do not want the dark circles under their eyes because of the sun shining down on top of their heads.
The first thing that a photographer should do is that finding some shade; now finding a shade at outdoor weddings is not that difficult. You can look for a tree or the side of the building where the sun is not shining directly. Going for this will give you soft light, however, this might end up creating some more restrictions as to how you are going to shoot.
Additionally, you will need to consider that when you are exposing for people in the shade, the sunny part of the picture is going to be blown out. You have to be sure that the exposure is correct and you are not making an attempt to put bright and dark elements in the same frame. A little sunset would let you get away in the middle of the day but it can be a difficult attempt.
Another tip that I can leave you with is that you can angle the subjects in such a way that the sun is behind them, the third option is to overpower the sun (I know, it sounds strange) but you can darken the ambient exposure to take the highlights down. Then go ahead and add in off-camera flash so you can full the subjects. This can create a really nice light on the bride and groom or whoever you are shooting but most people do not go for these because the process can be slow.
The point here is that you are not going to master the sun in one go and there is going to be some trial and error in the process. So, you can be sure that things are not going to get out of hand. Just make sure that you are always looking for shade and see if you can make the situation work.

Discussing the Timeline
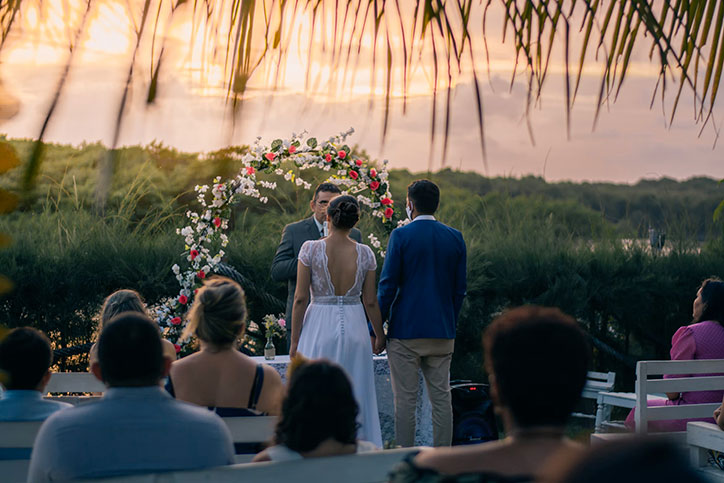
This is perhaps one of the most important things that you have to look into and this involves discussing the timeline with your clients. I know when you are talking about outdoor wedding photography, most clients want to go with the noon and that is something that might sound good. However, I would highly suggest that you tell your clients about the idea of golden hour.
In photography, the golden hour is the period of daytime shortly after the sunrise of before sunset during which the daylight is a lot softer and on the redder side. Normally, it is the last hour before sunset and the first hour after sunrise, and you would be surprised to know just how good the pictures turn out in such time.
Controlling the Direction of the Sun
Let’s be honest, we are photographers. What do we know about the direction of the sun or which direction the sun is going to be in. We cannot even go ahead and move the sun’s direction in our favour. What we can do, though, is the we can move ourselves and our subjects. Normally, when you are being hired to do an outdoor wedding, the clients (usually the bride and groom) are very understanding because they know you are the master of your crafts. So, you slip in the idea that in case the sun is not in the favour, they have to let you, the photographer, make adjustments to where you are going to make them stand and take photos.
I am not saying that this is always going to work but since you are the one who is committed to delivering the best possible pictures, the clients will normally listen to you. However, if they still don’t, just take a picture at the venue and show them the difference it makes and that is more than enough to get things in order.
Knowing Depth of Field
Moving further, when you are talking about outdoor wedding photography, we must be able to understand that people who want to get married outside are doing it for a reason. More often than not, the setting that the couple is choosing for is very important to the couples, and that is the reason why they are getting married outside, in the first place.
This means that they are looking tell a story through that place. This means that the background has to show up in their photos. Now, what does this mean for the photographer? This means that the photographer will need to shoot at a higher aperture, especially when they are shooting longer lenses.
In addition to that, photographers often prefer using wide angle lenses because they are great at creating more depth of field than a telephoto lens, especially when you set the aperture low. Sometimes, it serves as a great decision to blur the background but you have to realise that the couple might want to include the background in the pictures.
I would highly suggest that you ask the clients and see what they have to say about having the depth of field or visible background, for that matter. That should make things much easier and simpler for you.
Getting Rid of Distractions
We are all aware of the fact that pictures are supposed to be without any distractions. Unless, of course, you are trying to put the distractions in the photos yourself. However, in most cases, distractions can ruin how and what a good photo can be all about and we have to avoid that altogether.
Now, when you are doing an outdoor wedding shoot, you have to hope that there are no power lines in the surrounding area because those lines coming in the photos is unsightly, and will serve as nothing more than a cluttered mess.
The right thing is to get rid of all the distractions by positioning yourself in such a way that you can get a clean picture without any distraction ruining things for you because let’s be honest, no one really wants to be in such a situation, to begin with.
Additionally, one more suggestion that I give to all the photographers is what whenever you are shooting outdoor, you be sure that you are getting rid of all the distractions from the venue because honestly, that can just go ahead and ruin the picture through and through.
Sure, it might not be an easy thing, in the first place but the goal here is to get the best, clean looking pictures with the least number of distractions. Remember, distractions are not only going to make your pictures look average, but it will also not shine a positive light on your work and no photographer wants their work tarnished just because of a circumstance that was not in their control.
Be Prepared
Now, outdoor wedding photography is a lot of fun and to be honest, many of us photographers can also agree to the fact that it is more fun than indoor photography. However, the one thing that most photographers overlook when they are taking pictures is that they are not arriving at the venue all prepared.
What does that mean? Well this just means that while their camera gear and other equipment is ready, the rest of them are not. For starters, I got married when the winters were about to end and I reminded my photographer to be comfortable with dressing and be sure that they are dressing in a way that they are not sweating or freezing, for that matter.
The point is, you have to be comfortable while covering an outdoor wedding and if you are in a three-piece suit while the sun is scorching out there, it is not going to end favourably for you.
Similarly, you have to be sure that your camera is just as prepared as you are. If there is a chance of rain, you have to have enough protection for your gear. You do not want your expensive cameras and lenses soaked in water, do you?
Do Not Forget the Foreground
This is something that not just wedding photographers go through but photographers from every walk of life. Whenever you are in the process of setting up a shot and composing it, the foreground is something that is not just overlooked but forgotten about, as well.
For those who are having a hard time understanding this. Foreground is used to not just add context, but it can also lead the viewers eyes towards the subject. Another version of foreground can be handled in the form of layering.
By adding more and more layers to a picture, you can tell better stories and create a feel that is more dramatic. Layers can range from people, graphic elements, as well as subjects pertaining to the context of the picture.
When you are within the distance of layering various aspects, you get the assist in framing the subject and at the same time, giving the viewer a sense of what is going on. Sure, it can be difficult to implement, at first but if done correctly, it is one of the best tools that you can use for storytelling.
Getting the Highlights Right
I know this is something that most photographers completely overlook but most of the times, it is a clever thing to do if you expose for highlights. For those who are not sure what it means, this process ensures that there are no areas in a picture that is left overexposed on intention.
Once you end up with an overexposed area, no amount of post-processing can recover. Sure, the darker areas are often recovered but for those wanting to recover the lighter areas, that is not something that is possible.
The best way to deal with this is that you are exposing your picture for the brightest portion of the frame, especially if the subject is the brightest part of the frame. Letting the rest of the photo be dark will not only save your picture, but will also result in a more dramatic picture.
However, if there is something brighter than the subject, like the sun or some other lights, you can let these aspects fade to white, but you must be aware of your exposure before you do that.
Handling the Dynamic Range
Whenever you are doing an outdoor wedding photoshoot, the one thing that is going to be challenging is dynamic range. You might think that you just have to look at a good quality camera and all your issues are going to go away, but you have to remember that you are fighting with a lot of harsh light and in such situations, dynamic range is something that you must master.
For starters, aside from having a good camera like the Sony A7III or the A7IV, a graduated ND filter is something that you should be using. Sure, setting it up can be a cumbersome process but it is only going to make a big difference and your pictures will look even better.
Additionally, you can even use polarizing filters as it can help cut down reflection as well. The more you spend on polarizers, the better you are going to get.
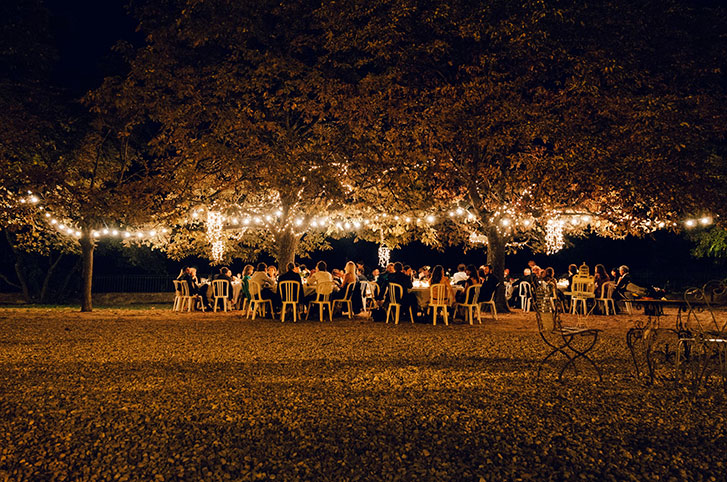
Bonus: Outdoor Night Wedding Photography Tips
Now that we are done talking about outdoor wedding photography tips, we have to look at the weddings that take place at the night. One would think that it is actually the same but when you are covering a wedding at night, things change almost entirely, allowing you to actually go ahead and reform your strategy, to begin with.
That is why to avoid any confusion, I am listing down some really important tips that are going to help everyone who is looking to get the wedding photography at night done the right way.
1. Understanding the Settings
When you are looking at night photography, you would be surprised by the number of options you have, based on the setup that you are going with. There are chances that you might not be shooting in complete darkness and this will allow you to crank the shutters peed a bit higher. However, you have to keep in mind that there is a limit to using a faster shutter speed with an off-camera flash if you are not using a high-speed sync.
Actual steps are, of course, going to differ and most of the time, you have to be sure that you are fully prepared for what you are doing. It might take some trial and error as well as some patience but you would be good to go once you have figured out the settings that are best for your camera.
2. Working with Your Clients
You also have to be sure that in night wedding photography, you have to be more involved with your clients (the bride and the groom) as opposed to doing it in the daily. Why? Well, you have to make sure that you are positioning them the right way and that there are no discrepancies coming in the way.
Tell them which poses are going to work best for them, make them look at each other, make them face you, and be sure that they are not going to be completely underexposed. Remember, you are working at night and there are chances that your options might not be as varied.
3. Using Multiple Lenses
I know this is something that should not come as a surprise but using multiple lenses is normally the way to go. I would suggest that you keep one prime lens with a wide aperture and another standard zoom lens with, well, a wide aperture once again. I do understand the complication that can come in the middle but most of the time, it all boils down to what you prefer to shoot with.
If you are comfortable with some other lens combination, that is more than enough. However, you have to be sure that your pictures are speaking for themselves and you are not ending up with blurry messes.
4. Boosting Up the ISO
I know this is going to sound risky but another suggestion that I am going to leave you with is that you should try and boost up your ISO. Now, this is not at all something that you should do if your camera is not able to handle higher ISO but if you can go high, then why not.
What this does is that it gives you better recycling times, allowing you to take more shots with ease and that too, without having to wait for the flash to recycle.
5. Trying Out Poses
As ridiculous as it sounds at this point, I would highly advise that you are trying out some poses with your clients. It only makes up for excellent pictures but you also get the chance to get some really nice shots that you can use.
6. Using Rain
Okay, this one has a lot of risks associated with it but if you manage to pull it off the right way, you would be surprised just how good it is going to look in the end. More often than not, there are situations when it starts raining during the shoot and if that does happen, I would highly suggest that you are using rain and making your pictures look a lot better and more dramatic.
Sure, it is going to take some time and it is not at all something that is easy to pull off but if your camera and the rest of the gear are protected against rain, you would be more than willing to take some amazing pictures.
7. Using the Reflections
Once it rains and if it rains, you are going to get a lot of wet surfaces at your disposal and while it might sound like something that is useless, you would be surprised just how dramatic the reflections are going to make the pictures look. Go ahead and experiment with various reflections in order to get the right experience and you would be able to get some stunning shots.
I’m not saying that reflections are always going to be your friend but the point here is that you are maximizing everything you have to make your pictures look dramatic. I am sure that you can tell the difference between a picture that was not easy to take as well as a picture that was taken in a matter of seconds. The point here is that the more effort you are putting into your picture, the better it will come out.
Frequently Asked Questions
Conclusion
I do understand the complications that can come in the way whenever you are getting into photography. The thing with photography that most people completely forget about is that for a lot of people, it is not just picking up a camera and taking pictures. The more you learn how to take pictures, the better you are going to get and that too, without any issues.
However, with outdoor wedding photography, things are different. Why? Well, this time around, you are not going around shooting in a controlled environment. As a matter of fact, most outdoor shoots are anything but controlled and this makes one want to get creative with where they are headed and the type of pictures they are trying to get.
It surely takes time but when you finally get it right, you end up not learning a lot about photography but only honing and mastering your craft further.
With this guide, we aim to make outdoor wedding photography more accessible for everyone, especially the newcomers with information that they can readily use.