The Best Sony A7III Tips to Get the Most Out of Your Camera
I know it might sound strange to a lot of consumers but the one thing that we can all agree on is that Sony has solidified itself as one of the top brands in the market, to the point that they have been delivering some stellar cameras for a long, long time. This is not just limited to their higher-end, full-frame cameras. But even their crop sensor cameras are exceptional and are loaded with features.
There is a reason why Sony poses a threat to Nikon and Canon simply because of the offerings that Sony has been really well rounded in every aspect. You can look at the Sony A7 III as a testament, considering how the camera is perhaps the most legendary one in the market and definitely something that is not going to slow anyone down.
Sony A7III: Unmatched Performance
Sony A7 III is not only an excellent camera for wedding photography, but whatever you wish to do with it, you will get the results. This Sony mirrorless camera comes with great ergonomics, battery life, exceptional image quality, a touch screen, and a lot more to offer. A7 III’s 24MP BSI sensor provides impressive dynamic range, making it perform well in low light conditions, keeping noise under control even at 25600 ISO.
However, the A7 III being a former flagship camera can be confusing for newcomers and that is why we have taken it upon ourselves to explore some Sony A7 III tips so you can have a much better experience. Let’s not waste time and have a look.
Sony A7iii Tips and Tricks – Everything You Need to Know
How to Get the Most Out of My Sony A7III?
There is no denying that for someone who is just starting out, the Sony A7 III can be a behemoth of a camera, confusing even the most hardcore shutterbugs who are not used to handling more expensive cameras.
However, the good news is that the cameras that Sony has been making are not confusing by any means. Quite the opposite, to be honest as you are looking at something that delivers exceptional performance for the price, and that too, while holding everything together without any confusion.
If you have been wondering how to get the most out of your Sony A7 III, you are at the right place as I am about to share some helpful tips that have personally helped me in so many cases, especially when I was new to the whole photography learning process. Before you begin, I would highly suggest that you familiarise yourself with the camera settings.
1- Invest in a Good Lens
I am going to start this by simply saying that you need to invest in a good lens. Sure, the market is full of lenses that range from various price points, and sometimes, you just want to go ahead and start taking pictures but if the lens that you are buying is not good enough, it is not going to reflect nicely on the camera itself and the pictures that you will end up with will look out of place.
Solution? Well, you can start by investing in a good lens that will be more than helpful in your photography endeavors. Now, if you are buying a Sony lens, chances are that the lineup is going to be more expensive than some of the other offerings but hey, I would suggest that you start with a 50mm f/1.8 lens by Sony as that is one of the more affordable but top-tier lenses in terms of overall quality.
Using the right focus point link is also important but it is not something that will make you get even more confused with your Sony A7 III.
Choosing the Right Lens for Your Sony A7III
A good prime lens that is also sharp is one way to get started. However, if you want to explore more options, you can always look for standard zoom lenses or telephoto prime lenses. The point here is that you should only get the lens that you can use in your work rather than just buying all the lenses that you can get your hands on.
Remember, one expensive lens will always be better than ten cheap lenses. With that said, once you do have a lens, you can actually go ahead and test whatever focus mode you wish, choosing from manual focus mode to automatic.

2- Learn the Shoot Manual
Okay, this is something that is going to sound like an elitist statement but if you have just invested in a Sony A7 III, you should be shooting in manual mode because there is no point in going automatic.
Why? Well, an automatic mode more or less takes the soul out of photography and limits you greatly because, in that mode, the camera is making all the decisions for you by first looking at and examining the scene. You should try Monochrome and grayscale images too. While this might sound convenient, it actually is the opposite as the pictures you get might not be good enough.
Therefore, take your time learning the manual focus because, in the end, it actually helps.
3- Learning the Exposure Triangle
Another thing that I would highly suggest is that you spend some time learning the exposure triangle because let’s be honest, a lot of people completely overlook this whenever they are taking pictures.
What is an exposure triangle? It simply comprises three elements that combine together to ensure that your picture is perfectly exposed. Or in worst cases, overexposed or underexposed. I am going to break all three elements down below and tell you what the ideal settings should be for these.
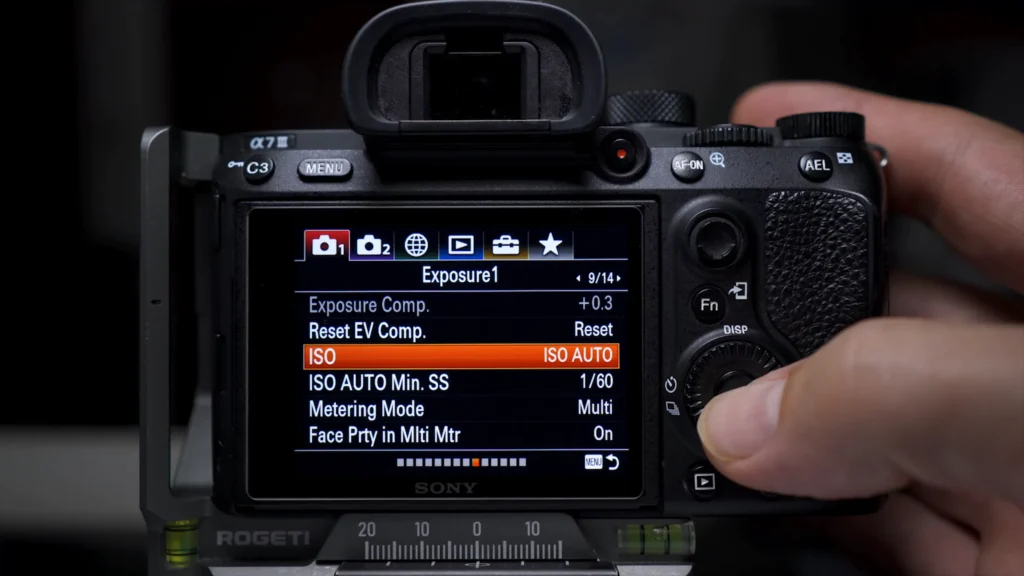
ISO:
ISO is the artificial or digital light that the camera introduces in the pictures to make them look brighter. In poorly lit scenes, ISO can artificially bump up the brightness but the cost here is introducing digital noise which looks awful. The key? Keep the ISO as low as possible on older cameras. However, since the Sony A7 III is really good in low light, you can bump the ISO up to 800 and even further but let’s save that for worst-case scenarios. Also, you can move to the camera menu and use the ISO Auto Mode.
Shutter Speed:
As the name suggests, it refers to just how fast the shutter actuates. The faster the shutter, the less time the light will have to enter but the benefit of a faster shutter speed is that you will be able to eliminate any blur, and you will also be able to capture some amazing, fast-moving objects. My ideal shutter speed ranges from 1/100th of a second to 1/500th of a second. You can go above and below the ranges I mentioned but be sure that you are ready to compensate for it. Shutter speed is one thing that you will have to tinker with a number of times to get right. You can use a minimum shutter speed, too, but be sure that you have a tripod for that.
Aperture:
The aperture in a camera/lens refers to how wide or narrow the lens blades/aperture are. The wider they are, the more light they will let in, allowing for a soft and smooth depth of field, and the narrower they are will result in less light but will allow for sharper, moodier pictures. You have to be sure that you are keeping your aperture open enough in ambient light. I would normally suggest that you go somewhere from f/1.8 to f/2.8 in ideal conditions. However, if you are shooting in the sun and the light is out there, you can even close the aperture all the way to f/16 and you still would get great pictures.
The reason why all the elements above are called the exposure triangle is that they work in tandem to ensure that your pictures look proper.
There is no hard and fast rule to make it happen, so you have to play with these settings to get the perfectly exposed shot, and remember, just because one set worked for one picture does not mean it will work for others as the light can change all the time. Furthermore, I would also suggest that you play with the camera settings as well as the function menu to see what results you can get.

How Do I Get the Sharpest Picture on My Sony A7III?
This is one woe that every photograph with every camera goes through. Getting the sharpest photos possible along with the best image quality. If you are wondering how to get the sharpest picture on the Sony A7 III, then the good news is that you do not need to do much.
Aside from following the tips that I have mentioned above, you should always look into investing in a good lens, a good lens can make all the difference. Sony offers a great range of prime lenses that you can check and they are sharp.
Their G-Master lineup is also among the sharpest, and they have some other great offerings, too. The point is, be sure that the lens you are getting is good or you will not get sharp results no matter how expensive your camera is.
Does A7III Have Real Time Tracking?
Sony A7III initially did not have real-time tracking at launch just like previous Sony mirrorless cameras. However, after a while, Sony did push a firmware update to the Sony A7 III and other competing cameras in the lineup, and the feature was added.
At the time of writing this, the Sony A7 III does have real-time tracking as long as you have the latest firmware installed.

Frequently Asked Questions
Conclusion
For anyone who is looking to get their hands on a good camera and does not want to get confused in the market, the Sony A7 III, despite being old, is still the safest option that you can get your hands on. Not only does it deliver a great overall performance but it actually works wonderfully overall, and that too, without any concerns.
If you have been looking at some tips for the camera, this whole guide will serve you as something that you can use to get the most out of your camera. We have explained more or less everything that you would want to know about the Sony A7 III and how to get the best results out of the camera.