How to Avoid Shadows in Indoor Photography – Make Your Pictures Look Good
Photography is a lot of fun because there are so many facets to it and while the learning curve can be steep, the more you dedicate yourself to it, the better you get at it going forward. Speaking of photography, shadows are those aspects that you can manipulate with ease, making your pictures look stunning from various aspects, but at the same time, if you are indoor, they can ruin your pictures altogether.
That is why we have decided to help you understand just how to avoid shadows in indoor photography since it is an important aspect for everyone to understand. So, let’s not waste more time and start exploring what can be done about this.
How to Avoid Shadows in Indoor Photography
Understanding Lighting in Indoor Photography
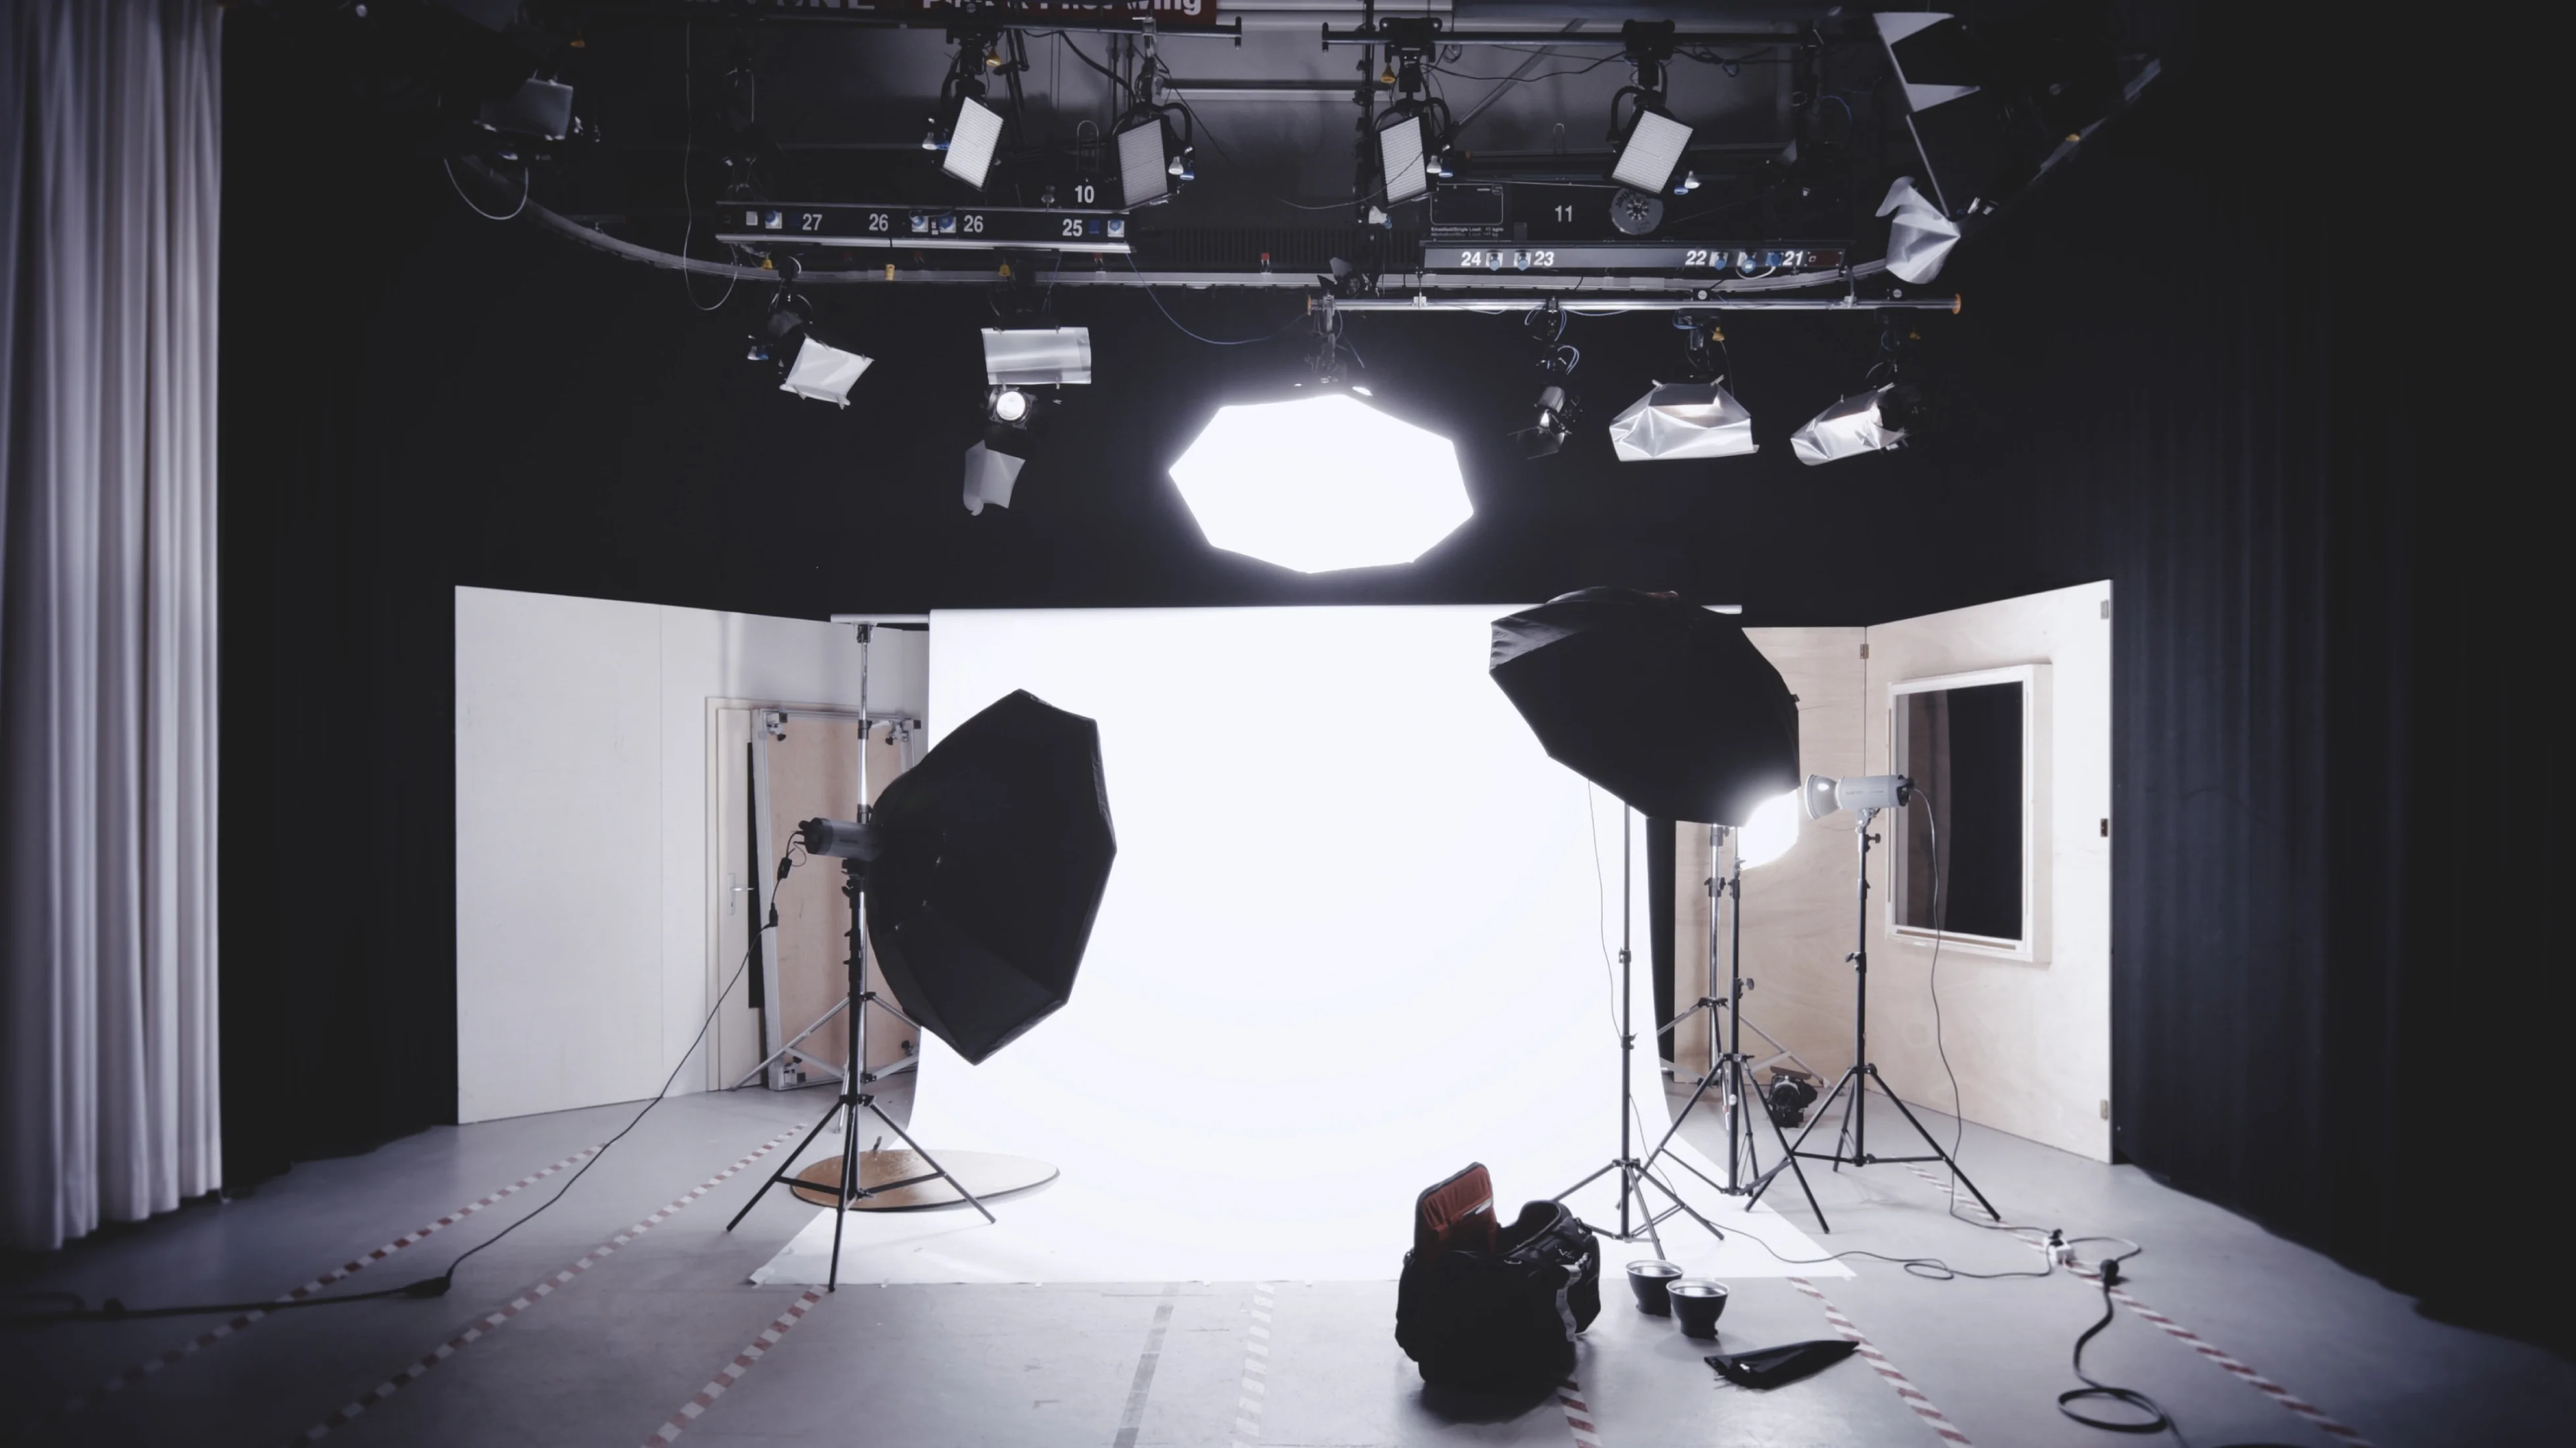
There is no denying that indoor photography requires a different set of lighting techniques. You cannot just use a one-size-fit-for-all approach here because when you are indoors, you are dealing with various factors. Thankfully, the good thing is since we are indoors, we have access to all sorts of lights that are available, not just that. There are several props too, that can help create the atmosphere you are trying to create.
but remember, we are talking about indoor photography and here you have to deal with a lot of shadows too. Shadows that can ruin the picture with ease. Now, let’s dial back and understand that not all shadows are bad—there are several ways to use shadows for creating dramatic effects but if you are aiming for a shadow-free shot, you are going to light up the scene in such a way that there are no shadows.
Thankfully, avoiding shadows is not as hard as it might seem. Trust me, it is one of the simplest things you can do. Always remember one thing that a shadow is largely dependent on the placement of lighting and your subject. So, in order to light a scene in indoor photography the right way and ensure that there are no shadows, start by positioning the light source in such a way that it is in correlation with the subject and the background. If you are doing it for the first time, it is going to take some time before you get a proper hang of it but once you have managed it properly, you’ll have no troubles.
Speaking of lighting, if you want to eliminate shadows with lighting, you have to avoid using built-in flashes or flashes in general. The best way is to use off-camera lights instead as they will give you more control as to how you can place them. Keep the subject away from the wall or any background, for that matter, and try using one light source, along with diffused or bounced light.
Again, lighting indoor scenes can be tricky and it is never the same approach with two different places, so you will have to mix and match until you find the best way it works for you.
Composition and Framing Techniques for Shadow-Free Shots
Now that you know about lighting in indoor photography, the next thing that we are going to focus on are the composition and framing techniques for shadow-free shots. This applies to almost every type of photography you are doing indoors. Be it product photography or portrait photography, the options are there, and well, it can take some time.
So, how to avoid shadows in indoor photography? Well, this is not as complicated as it might seem. In photography, we normally use fill flash or reflectors to minimize and reduce shadows in a picture. For those who don’t know, fill flash refers to a setup where the photographer uses a flash to illuminate the shadow side of the subject, and the additional light is then used when you have a lot of contrast between two sides of the subject.
Then there are reflectors that can be used by photographers in the same way. You simply bounce light from other sources onto the subject or the backdrop itself, this helps in reducing the contrast and mitigating the shadows.
Last but not the least, you could use fill light and point it towards the backdrop and that will take away any background shadows, giving you the cleanest picture possible.
The thing about photography and shadows is that although the mechanics of it are easy to understand, people often have a hard time finding a way around it due to lack of understand of how shadows and light work, in general. Once you master it, there is no going back. I actually did a complete guide on lighting indoor setups that you can check out here.
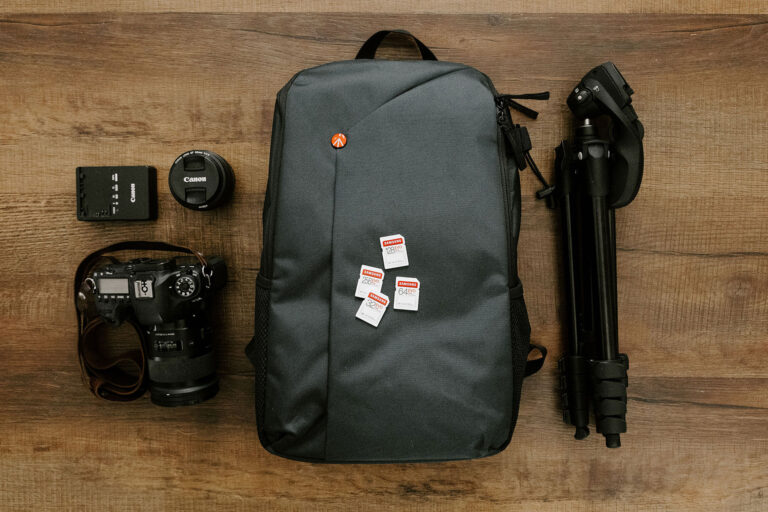
Camera Settings for Indoor Photography
Now that I am done helping you with understanding lighting and shadow in photography. One thing that often gets overlooked are the camera settings while you are indoor. The thing is, due to the lack of natural light in some instances, it can be difficult to have a proper understanding as to how you should set your camera.
What you can do is, make sure that you are adjusting the aperture accordingly based on the lack or abundance of lighting. If you are doing stills and you want no blur whatsoever, then the shutter speed should be 1/500th of a second or even higher if you have enough light, and naturally, the ISO should be at its lowest for proper results. White balance is a really important thing here and for that, you can either use grey cards or adjust white balance in post processing. For more tips, you can always check out this article where I have talked about indoor photography in detail.
Conclusion
I do understand that lighting the perfect scene in indoor photography can be difficult and for a lot of people, getting the perfect shot matters the most. However, this also introduces this level of confusion that most people have about photography.
I will be clear here. Photography in general is not the most complicated thing there is. Shadows can be eliminated with ease. As long as you understand the correlation of subject with the lighting itself, removing shadows is perhaps the easiest thing there is. Still, we don’t blame people who run into issues when it comes to having indoor photography issues.
The purpose of this post is to ensure that any photographer who is struggling with lighting up their shots without avoiding shadows can get what they are looking for and that too, with ease. So, be certain of the fact that you are doing everything the right way, and there are no other issues coming in the way. If you are still having issues with understanding lighting and shadows, I’d highly advise that you experiment with the placement so you do not run into problems even further. Rest assured, it will be as easy as breathing once you’ve mastered it.