Best Manual Settings for Outdoor Photography
Outdoor photography is a lot of fun. There is something about being out and taking as many pictures as you want of various interesting subjects. The fact that you have limitless subjects makes everything all the more exhilarating. However, at the same time, things brings a lot of confusion for people who are trying to find the best settings.
When using a camera, I always advise that one should use manual settings on their camera for the best experience. However, this makes it difficult for a lot of newcomers to get around these settings as they are not sure which one would be good for them and which one would be bad.
That is why, in this post, we are going to break it down for you so you can have a better understanding with the settings that you should use in case of outdoor photography.
Best Manual Settings for Outdoor Photography
Now, when you are talking about manual settings for outdoor photography, you do not really have to worry about getting things wrong. However, I would advise against using a manual lens if you are not familiar with the mechanics because it can be quite overwhelming even for experts.
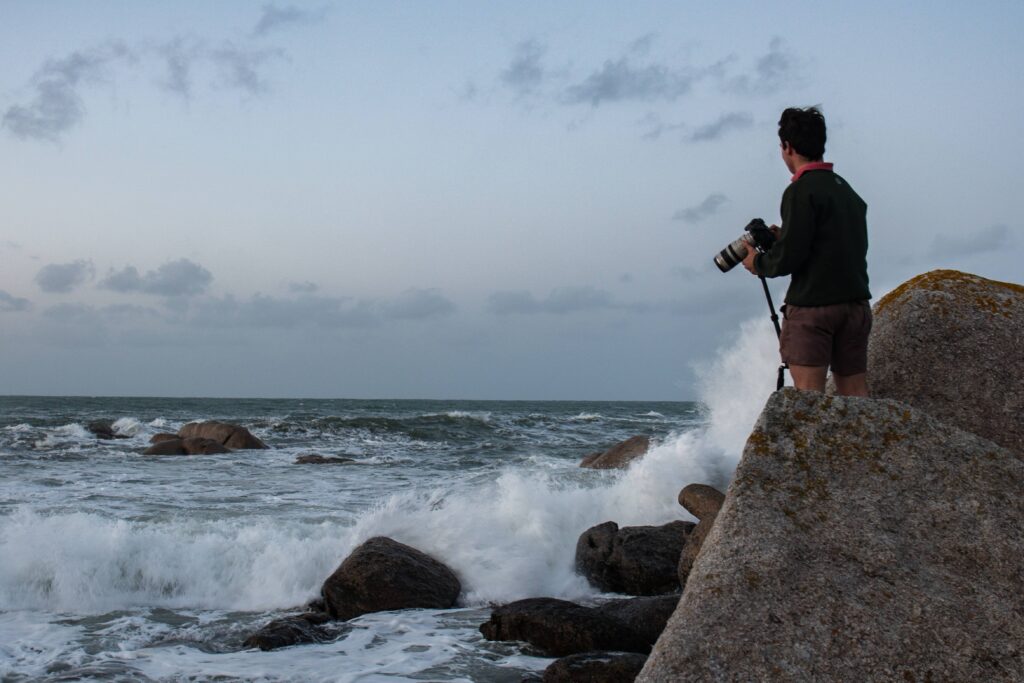
As far as the camera settings, I am going to guide you through them so you can have a better idea of how to handle the situation and alter the settings if needed.
1- ISO, Shutter Speed, and Aperture
The ISO, shutter speed, and aperture all combine to make the exposure triangle, and that is why it is better to discuss them together rather than doing it separately. ISO is one thing that I would always prefer to be set at its lowest. So, we should start at 100. However, modern cameras are excellent in managing clean images even at higher ISOs, so if you do find yourself in a situation outdoor where there is not enough light, feel free to increase the ISO.
Moving on, the shutter speed is not a term that needs an explanation. Considering how you will be outdoors and on the move, I’d advise a faster shutter speed of somewhere around 1/250th of a second to 1/500th of a second. However, if you are confident that there is a lot of light outdoors, then you can even go as high as 1/1000th of a second.
Last but not the least, you have the aperture. When you are outdoors, if there is a lot of light around you, I’d suggest that you keep the shutter at f/2.8. However, feel free to increase or decrease it based on your requirements. This setting is something that you will have to play around with in order to get the best results.
2- Adjusting the White Balance
When it comes to adjusting the white balance, things can be complicated for a lot of people as they are not sure how to set the proper white balance. If you are not going to use a grey card, I would highly suggest that you adjust white balance in post processing as modern-day tools make it entirely possible to do so with great ease. Again, I do understand that it can be frustrating at first, but it is better that you learn in whatever way it is comfortable for you.

3- A Good Lens is What You Need
Lenses are perhaps some of the most important aspects of any camera or photography journey. If you do not have access to a good camera, things can easily go wrong and you can end up taking some really horrible pictures as well.
Whether you are doing outdoor photography for the sake of having fun or you are professionally indulging into it, I would always advise that you have a decent lens. I would highly suggest a 28-70mm lens that is an excellent choice thanks to its variable focal length that allows you to get up close to the subject or away from them depending on your requirement.
4- Keep Your Camera on Manual
I do feel that I don’t need to make this an obvious statement but most of the time, people avoid using manual mode simply because it can be too overwhelming. While I fully agree with that sentiment because the first time I picked up a camera, I was overwhelmed with all the options and settings that were in front of me on the main screen. However, once I started experimenting, I realised that it is not as difficult. After 100s of bad photos, I was fully able to understand the depth of each setting and dial it to my own preference.

The point here is that if you keep using automatic mode, it will severely limit your ability to learn the camera and photography as a whole and you would forever use it as a crutch. While it might not be wrong, in the long run, it can hinder your ability to produce some really stunning images.
Conclusion
The prospect of outdoor photography is undoubtedly fun. However, considering how you are dealing with so many factors in outdoor photography that are not in your control, things can often end up spiraling and that is one thing that we would never advise anyone to go through. You can prepare yourself as much as possible but the weather and light sources are two things that you are not going to be able to manipulate.
Thankfully, we don’t talk about manipulating those forces in this post as well, since the sheer focus of this entire article is to ensure that you are prepared to get some stunning results with your outdoor photography venture.
Although you might be overwhelmed, as long as you have a plan and you know what needs to be done, your photos are going to come out looking stunning.
Frequently Asked Questions

