The Ultimate Guide to Mastering the Best Wedding Photography Lighting Setup
Wedding photography, although a lot of fun, can be daunting. With each client wanting something different than the other, this can baffle even the most seasoned photographers. Simply put, the stakes are high – there are no do-overs on the couple’s special day. Lighting, one of the crucial elements in photography, can significantly impact the mood and aesthetics of wedding photos. This article will delve into the best wedding photography lighting setup to help you capture the essence of the day beautifully and effortlessly.
Unveiling the Romance: The Importance of Low Light Wedding Photography
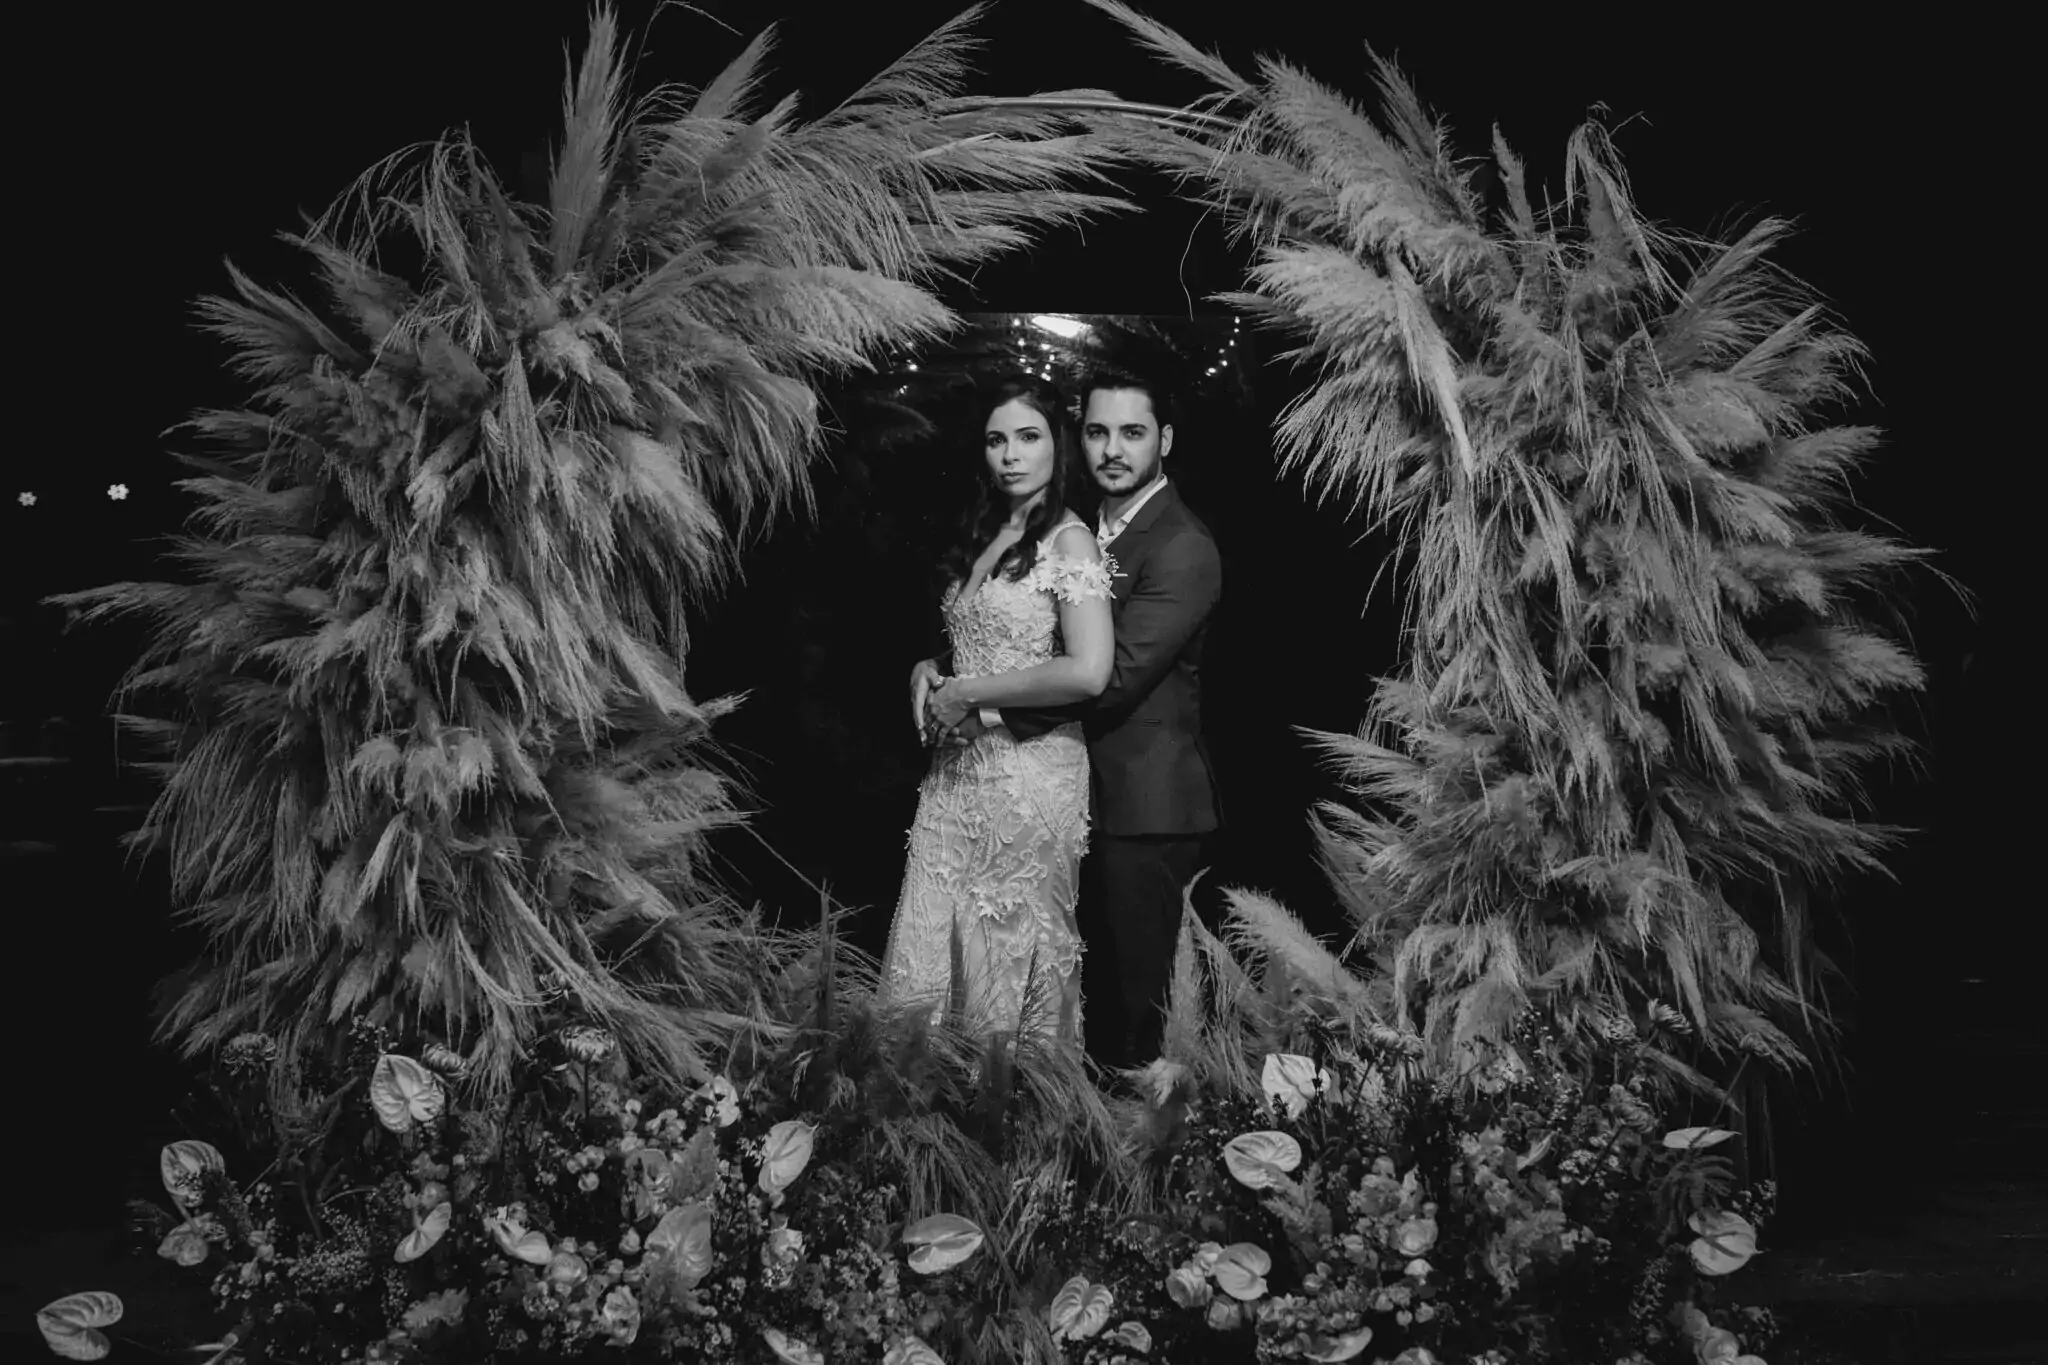
Wedding ceremonies often revolve around emotion, intimacy, and romance. Low light wedding photography can brilliantly encapsulate these feelings, translating them into tangible memories that last a lifetime. The soft ambiance of low light can lend a unique, ethereal beauty to the photos, creating bohemian prints that are not only eye-catching but also heart-stirring.
Whether you’re shooting in a dark church, an evening garden, or a candlelit banquet hall, the benefits of low light shots cannot be denied. Mastering this style of photography is no less than an art. It allows the photographer to play with shadows and highlights, thus capturing the intricate interplay of light and dark that resonates with the romantic ambiance of a wedding day.
But how does one navigate this complex landscape of lighting challenges? The key lies in understanding the dynamics of light, camera settings, and some ingenious strategies that we will explore in the following sections.
Shining Through the Shadows: Overcoming Challenges in Low Light Photography
Low light photography, while artistically appealing, often comes with a unique set of challenges. Photographers might find themselves wrestling with increased noise, blurry images due to camera shaker, and difficulties in achieving sharp images while shooting in low light conditions.
Having a firm understanding of camera settings is vital when tackling these issues. The shutter speed, aperture, and ISO settings become your key players in this game. Slow shutter speeds could create motion blur if your subjects are moving. Alterhantively, choosing a wide aperture lets more light hit the sensor, but this results in a shallower depth of field, which is ideal for portraits.
Boosting the ISO setting ramps up the sensitivity of your camera sensor to light, but this adds more noise in the images. Thankfully, most modern sensors are really good with handling higher ISO, so the tradeoff is not as severe as it once was.
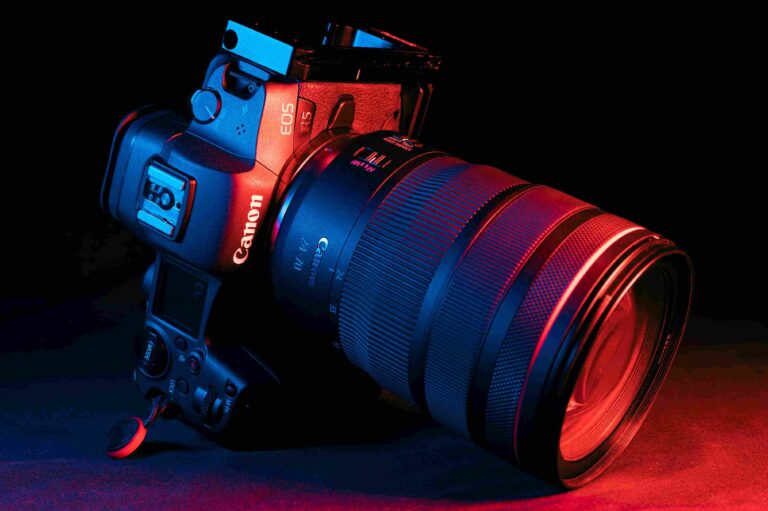
Selecting the right gear can be a game-changer in managing these problems. Prime lenses, for instance, are excellent for low light photography due to their wide apertures. You can also add a tripod thatelps keep your camera steady, allowing you to use slower shutter speeds without risking blurred images.
Camera gear and settings can take you far, but having access to good lighting is also a great bonus. Take artificial light sources, for example. Some common offerings areoff-camera flash or LED lights. However, these lights are used to enhance the lighting you have instead of overpowering it completely.. Your goal should be to maintain the mood of the setting while providing just enough light for crisp, beautiful photos. This guide can help you picking up the right equipment for wedding photography.
Post-production is another arena where you can address the drawbacks of low light photography. Tools such as Adobe Photoshop and Lightroom are excellent when it comes to helping you with edits to truly take your photo game to the next level.
Refining the Art: Post-Processing Techniques for Low Light Photos
The journey of an image doesn’t end with the click of the shutter; it’s only half the story. The other half unfolds in the editing room. With skilled editing, you can turn good photos into breathtaking ones. It becomes even more crucial when dealing with low light wedding photography, where noise reduction, color correction, and sharpness adjustments can make a significant difference.
Editing software like Adobe Lightroom or Photoshop offers a myriad of tools to enhance low light images. Noise reduction features can smooth out the graininess, while adjusting the contrast and saturation can bring out the details and colors in your photos. Dodging and burning tools allow you to brighten or darken specific areas of the image, highlighting the subjects and drawing the viewer’s eyes away from less important elements.
However, post-processing isn’t about drastically altering the image but refining it. The aim should be to enhance the photo’s natural qualities and preserve the genuine feel of the wedding day. For more tips on editing your wedding photos, check out our guide here.
Illuminating Examples: Analyzing Successful Low Light Wedding Photography
If you are new to low-light wedding photography, you can always analyze the works of professional photographers to get an insight on which path to walk on. Let’s explore some examples of successful low light wedding photography to understand how different elements come together to create compelling images.

Most wedding ceremonies take place in a dimly lit, rustic church; it’s an aesthetic most couples want. The soft, ambient light filtering through the stained glass windows casts colorful shadows on the bride’s veil, creating a dramatic, painterly effect. The photographer has used a wide aperture to capture this image, focusing on the bride and allowing the background to blur slightly. This setup brings the bride into sharp focus, drawing the viewer’s eyes directly to her. The shutter speed has been adjusted just enough to avoid any motion blur as the bride moves down the aisle. In post-production, the contrast was slightly increased to further enhance the play of light and shadows.
Or consider a scenario of a late evening reception under a canopy of fairy lights. The twinkling lights provide a warm, magical glow to the scene. Using an off-camera flash, the photographer has gently illuminated the couple without washing out the soft fairy lights’ glow. In editing, the saturation was slightly bumped up to enrich the colors, and selective sharpening was applied to highlight the couple against the bokeh of the fairy lights.
These examples underline how understanding and effectively manipulating light can lead to stunning wedding photos. The beauty of photography lies in its endless potential for creativity. Each wedding, each couple, and each moment presents a unique opportunity to create something beautiful.
To explore more about wedding photography lighting setup and draw inspiration from stunning examples, visit our comprehensive guide here.

Conclusion
Mastering the best wedding photography lighting setup, especially in low light conditions, is a blend of technical knowledge, hands-on skills, creative ingenuity, and patience. It does take some time to perfect the craft, and regardless of your experience, one should always be eager to learn and master new techniques. As you explore various lighting scenarios, remember that every challenge you face is a chance to grow and refine your craft. Your job as a wedding photographer is to capture what you were hired to. You might feel challenged based on the situations at hand, but keep your composure, and keep taking pictures.
As photographers, our job is more than creating images; we’re in the business of crafting memories. Every shot you take is a moment frozen in time, kept for generations to come. That’s what makes photography not just a profession, but a passion.
So gear up, adjust your settings, and step into the enchanting world of low light wedding photography. The stage is set, the lights are dimmed, and the story is yours to tell.
Happy shooting!
Frequently Asked Questions